Table of Contents
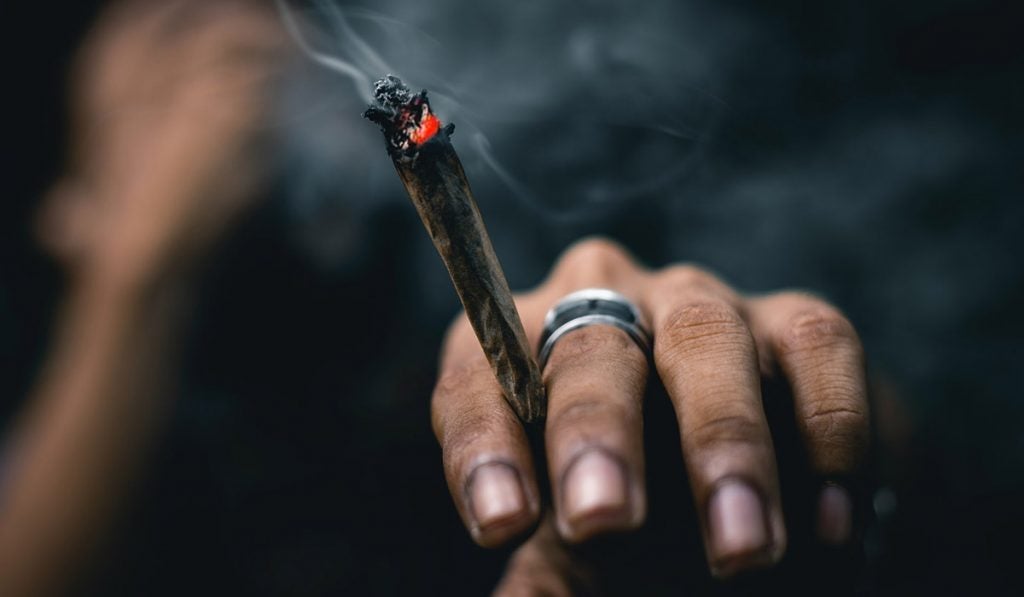
Knowing how to roll a joint may be a vital skill for cannabis users. Joints have been the most common method of consuming cannabis since time immemorial.
Although you can purchase pre-rolls at marijuana dispensaries, you might still want to learn how to roll the weed. Yes, it’s quite easy to become dependent on dispensaries. All the same, knowing how to roll one is essential if there’s no dispensary around the corner. This article teaches you the easiest way to roll a joint so you can enjoy a perfectly rolled joint every time anywhere.
Step-by-Step Guide on How to Roll a Perfect Joint
If it’s your first time rolling a joint, you should steadily follow this five-step guide. Once you get the hang of it, knowing how to roll a perfect joint will be a breeze.
Before learning how to roll a joint easily, you should gather your rolling supplies first:
- Cannabis strain
- Cannabis grinder
- Rolling papers (make sure you have more than one)
- Crutch (for the joint crutch or joint filter)
- A pen-shaped object to help pack the joint
Step 1 – Break down the cannabis
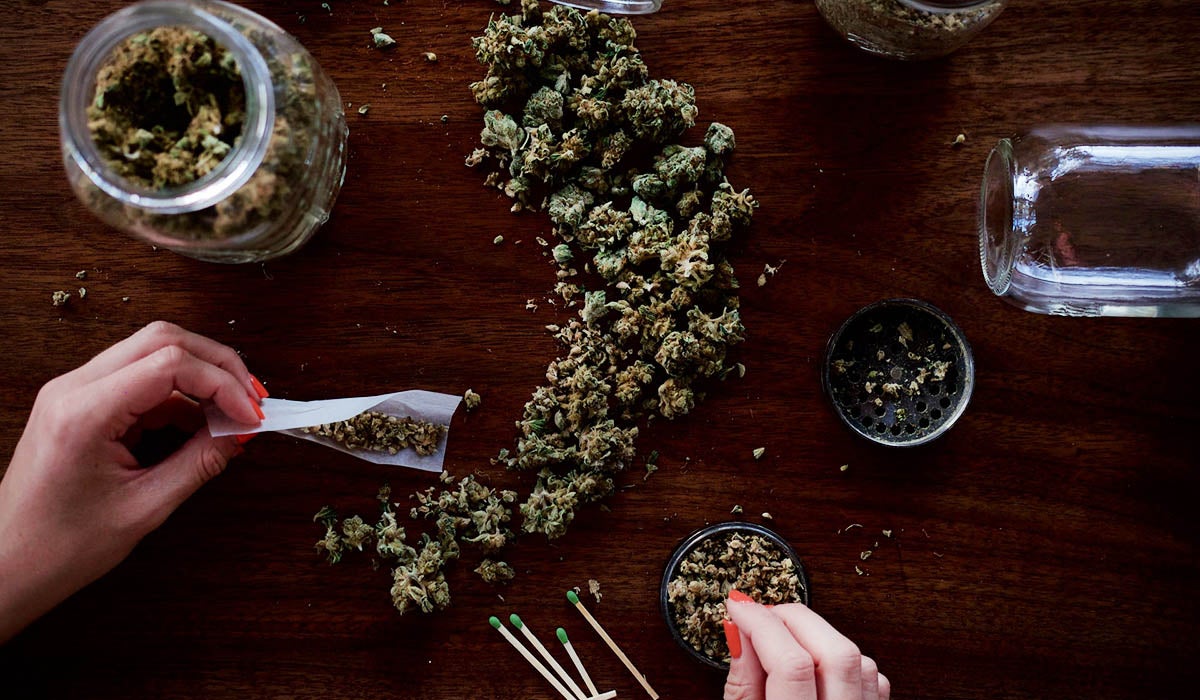
If you already have the marijuana strain of your choice at hand, use a grinder to break it down. This will make the process of breaking down the weed a lot easier. You can also use scissors if you don’t own a grinder. If your marijuana is dried well, it should break down easily.
Note that grinder and scissors keep your hand from getting sticky. You don’t want your joint to look messy, with some strains sticking to the joint paper. However, you can opt to break down the cannabis by hand if you have no other option. Just make sure it doesn’t get messy.
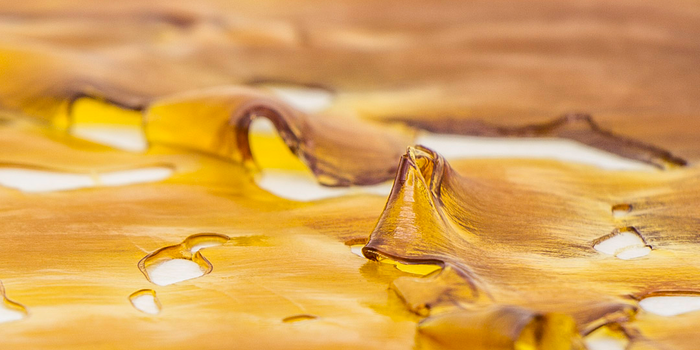
You can also add concentrates to give your joint a kick. Add crumbled shatter, kief, cover in oil or distillate, or the most popular; smoking hash in a joint.
Step 2 – Create a joint filter or crutch
Most people like smoking joints with a joint filter or a crutch. It is a mouthpiece usually made of wood pulp, thick paper, cardboard sheets, or glass.
The joint filter isn’t essential when smoking joint. All the same, it blocks bits of plant material from getting in your mouth and allows you to enjoy the weed without burning your fingertips.
Some rolling papers come packed with joint filters. If you come across those types of paper, you won’t have to create a crutch yourself.
Here’s a simple guide on how to make a joint filter if you need one:
- First, pick a filter material. You can use a manila file folder, an index card, or even a business card.
- Once you’ve resolved what material to use, make 3-4 initial accordion folds on one side. Don’t crease these folds to avoid making your filter’s airflow constricted.
- After, roll the extra paper around the folded portion of the crutch until it’s snug. Remove excess material if necessary.
Step 3 – Fill the joint with cannabis
Take the cannabis that you previously ground and put it in the rolling paper. You can use different types and flavors of joint papers. It’s best if you do your research and find the best cannabis rolling paper to use.
When filling the paper with cannabis, you should not squeeze in too much plant in the joint. Many beginners tend to make roll joints that are rather too fat. It’s best if you take the time to shape the joint properly. The recommended amount of cannabis shake for a joint is around a half gram to a gram.
Additionally, the ground bud must be evenly arranged in the paper. If the plant material isn’t evenly dispersed in the paper, rolling the joint into your desired shape will be extra tedious.
Step 4 – Start rolling the joint
This step is crucial as it can determine the quality of your joint. Once the paper has the ideal amount of ground weed, you can now form and shape the joint using your fingers.
To start, tuck the unglued side of the paper into the roll. After, lick the glued edge of the paper and roll one end down to hold it into place. If you’re using a joint filter, place it at one end of the joint and roll this end into place first. This makes the rolling easy and helps guide the paper as it rolls around itself.
Shape the joint by moving the cannabis shake around to where it’s distributed evenly across the rolling paper. Once you see it taking the shape of a joint, it’s time to wrap it up.
Step 5 – Wrap it up
The next and final step is packing or wrapping up the joint. The concept behind packing the joint is like packing a cigarette. If you want to ensure a slow and even burn while smoking, you should pack the joint the way cigarettes are packed.
Note that packing joints reduces the likelihood of the lit portion of the material from falling out as the result of a loose roll. However, avoid packing a joint too tight. Anything too tight makes it nearly impossible to get a proper draw because of the lack of airflow.
You can use something like a pen or a stick to pack the cannabis down through the top of the joint. If you can’t find material, you can squeeze the top of the joint and flick the joint back and forth until it packs down. On the other hand, if you’re not opting to smoke your joint right away, closing the tip with a twist is recommended.
Using a Joint Rolling Machine
We understand that hand-rolling a joint takes practice and a considerable amount of time. If you wish to steer clear of the hassle of hand-rolling, using a joint rolling machine is your best option.
Using a joint roller is best if you’re planning to roll multiple joints to last you through a long weekend or vacation. They can get the job done speedily and efficiently under most circumstances. In fact, rolling machines can put out a joint in under one minute.
There are several types of rolling machines on the market. In this section, we’ll teach you how to use a joint roller properly.
1) Prepare the materials
Like the hand-rolling process, you should start by organizing all the things you need to make a joint. You still need ground weed, rolling papers, and filters. It’s best to work on top of a small tray or large paper because rolling a joint can get messy.
2) Load them up
Fill the roller with the ground weed and lightly pack it in. Like hand-rolling, it’s recommended that you don’t exceed the amount, as mentioned earlier. Close the joint roller and roll back and forth for an even distribution of cannabis.
3) Roll the joint up
Next, load the rolling paper into the joint-rolling machine with the sticky side up. Roll the paper into the roller by pressing down with your thumbs. Continue to roll the paper into the machine until the sticky strip is the only thing visible.
4) Remove the joint
Finally, open the roller and remove the joint carefully. Note that if the paper was incorrectly inserted, the paper would not stick, and the joint would likely crumble.
Rolling a Cross Joint
There are various types of cannabis rolls, but one of the most popular joints is the cross joint. Based on its name, a cross joint is a type of joint that’s shaped into a cross. It usually has two joints combined and gives you three or more ends from which to light the cannabis roll. Here is a quick guide on how to roll a cross joint like a pro.
Step 1
First, you need to make two joints. For this reason, you need a lot more materials than a standard joint. Remember that one joint should be larger than the other. If you’re using a joint filter, make sure to use it on the larger joint alone.
Step 2
Next, create a hole in the larger joint. You can use a paperclip to poke a hole through it. Make sure to be gentle with this to avoid spilling the content of the joint. Wiggle the paperclip until the hole is large enough hole to fit the other joint through the large joint. After, poke a hole through the small joint. This will allow air to go through one joint into the other.
Step 3
Shove the small joint through the large joint. Make sure the holes you poked in the smaller joint are in line with the large joint. This turns it into a cross-shaped joint.
Rolling Joint FAQ
Q: How tight should a cannabis joint be?
A. It’s essential not to roll the joint too loose or too tight. If you roll it too loose, your joint will burn down in a matter of seconds. On the other hand, if you roll it too tight, you will have a hard time getting a nice, clean draw when smoking.
Q: How can you tell if a joint is well-rolled?
A. You can tell a joint is rolled well based on how it burns. If it doesn’t burn too fast or too slow, you can call your creation a well-rolled cannabis joint.
Q: How can you practice rolling joints?
A. If you’re only looking to practice to roll a joint, you don’t need to use cannabis. You can practice rolling with any plant material that resembles marijuana’s consistency, just like cooking herbs. Use some quality papers and roll them to the right length, thickness, and tightness. Make sure to distribute the plant material on the paper equally.
Q: What type of paper works for rolling joints?
A. The best rolling papers are those with the fewest additives or chemicals. Many people prefer using papers made from organic hemp or rice.
Q: How can you make your joints burn evenly?
A. To light a joint that burns evenly at the right time, you should apply the flame to only the tip while slowly rotating the joint in your fingers.
Q: How many joints should you take to get high?
A. If it’s your first time to smoke a joint, then just take 1 or 2 hits. If you’re still not high, you can take another hit.


Recent Comments